
If you have a small space, an artificial hedge can help you fill it up and make it look like there’s more going on in there. It also serves as an easy way to add privacy if your yard isn’t terribly large. This is how you install one!
STEP 1 – PREPARE YOUR WALL
In the first step, you need to prep your wall for installation. This will show you how to remove debris, dirt, and any other loose material that may be on your wall.
Make sure there are no cracks or holes in the wall. If there are cracks or holes in the wall, they can weaken it and cause problems with installation later on when you’re securing everything into place.
Use a level tool to make sure that the area around where you plan on installing is straight (i.e., level). This will help ensure that all of your measurements are accurate so that when it comes time for installation day, everything lines up properly!
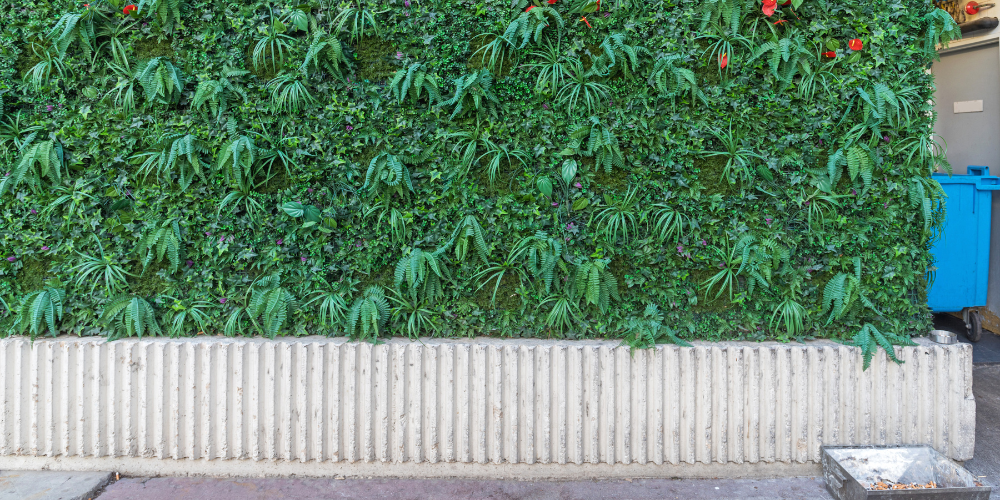
STEP 2 – INSTALL YOUR ARTIFICIAL HEDGE
This is a very simple step, but it’s crucial to the success of your artificial hedge. To install your artificial hedge, you’ll want to place it on a flat surface. If you’re using a wall, make sure that you’ve created a solid surface using drywall panels or plasterboard.
Once everything is in place, use a level (or something similar) to make sure that your hedge is straight and even with the walls around it. Then use screws or nails to attach the back section of your artificial hedge to any nearby walls. Make sure that when you do this, though—and this goes for any other point in installing an artificial hedge—you don’t damage any surrounding structures like windows or doors!
STEP 3 – FILL IN THE GAPS
Now that you’ve cleared out the old vegetation, it’s time to fill in the gaps. If you’ve left a gap between the wall and your artificial hedge, use a spade to dig out any weeds or roots in this area. To ensure that everything is nice and tidy, use a hose to wash down the wall removing any dirt. Use a broom to sweep away any debris from around your new artificial hedge. Now for the fun part: applying mortar! Make sure all of your tools have been put safely away before getting started as now it’s time for some serious DIY action!
Use a paintbrush or old rag (if you don’t have either then use whatever you can find) and apply mortar over both sides of each wooden slat making sure they are well coated with it. The amount of mortar needed varies depending on how many slats there are so just keep adding until they’re all covered up nicely!
STEP 4 – TRIM YOUR ARTIFICIAL HEDGE
Now it’s time to trim your artificial hedge. Use a hedge trimmer and make sure you use the correct length of the blade for your artificial hedge. This will ensure that you don’t damage the wall or floor behind your new fake hedges. After trimming, check if there are any stray bits left over and remove them with a pair of scissors if necessary.
This is what you do when you install an artificial hedge.
Prepare the wall for your artificial hedge. Remove any debris from the area where you’re going to install your hedge. Tape off any areas that need protection, such as windows and vents.
Install your artificial hedge according to its instructions using screws or nails, depending on the product you choose. For example, if you have a feathery-looking fake shrub, use tacks instead of screws; if it’s a hard plastic bush with leaves that look like oak trees’ branches, use screws instead of tacks.
Conclusion
When done installing all pieces of your new fake plant collection all at once in one go, don’t forget to include yourself as part of how many pieces there were! It’s important not only because it’s good manners but because people will want this information from them when they’re doing something similar themselves later down the line.


